


Let's leverage some of the new features in Apache Syncope 3.0 Maggiore to protect web applications.
Apache Syncope 3.0 Maggiore was recently released and is bringing a whole lot of new features and improvements.
Compared to previous versions, most of the new features are coming from the new components Web Access (WA) and Secure Remote Access (SRA).
- Syncope WA is based on Apereo CAS: this means (besides the rest) that Authentication, Authorization, Single Sign, OpenID Connect and SAML 2.0 are now part of the solution.
- Syncope SRA is built on Spring Cloud Gateway, allowing for API management and legacy application protection.
We will be exploring such new components with a series of three posts:
- (this post) how to configure Syncope to protect a native OpenID Connect web application
- how to configure Syncope to protect a legacy web application
- how to manage which users are allowed to access which web application(s)
Each post will provide a fully working demo based on Docker Compose, so if you like to follow, please stay prepared and get it ready on your laptop.
Getting and running the demo
First of all, you will need to grab the demo files. Secondly, you will have to add the following entry to your hosts file (depending on actual OS):
172.20.0.6 syncope-wa
Once all is set up, just cd into part1 and start via
docker compose up
Now it is time to relax and just let the magic happen: Docker will download the required images (database, Syncope components and native OpenID Connect web application) and set everything up. When you start seeing log lines as follows:
org.apache.syncope.wa.starter.services.WAServiceRegistry : Loading application definitions
then it is time to back up and start giving the demo a try.
Exploring the demo
Point your favorite browser to http://localhost:9009
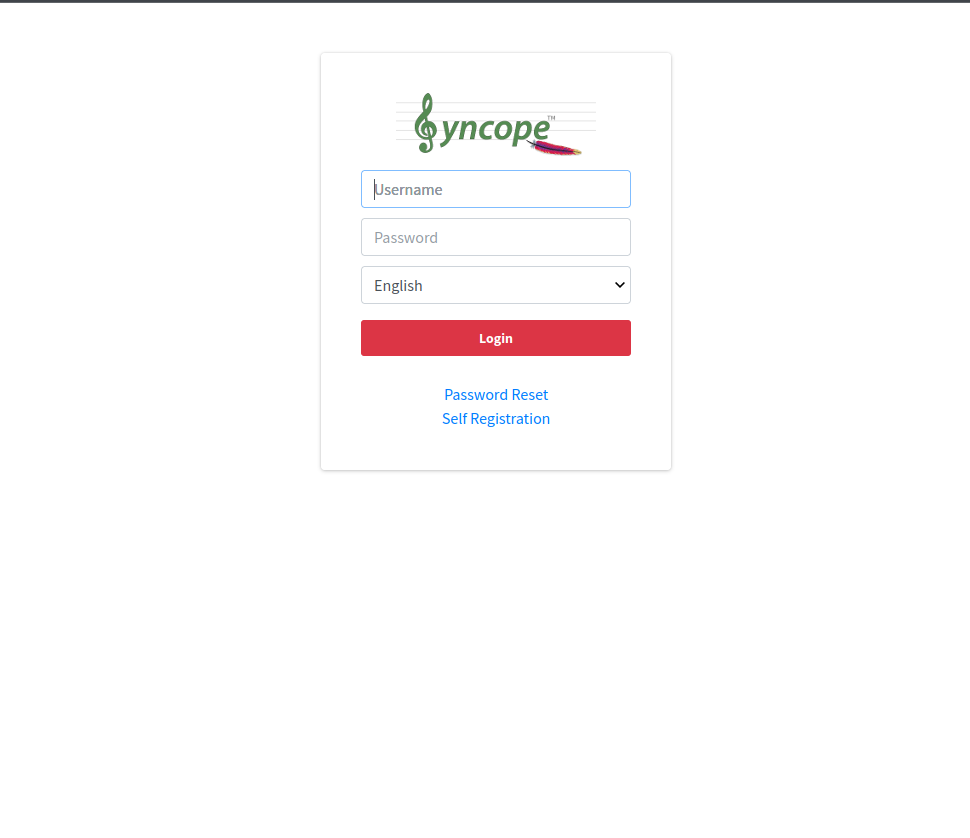
You will be redirected to the Syncope WA login form where you can insert the test credentials, tirasa as username and password as password.

After submitting the form, the consent screen will be shown:
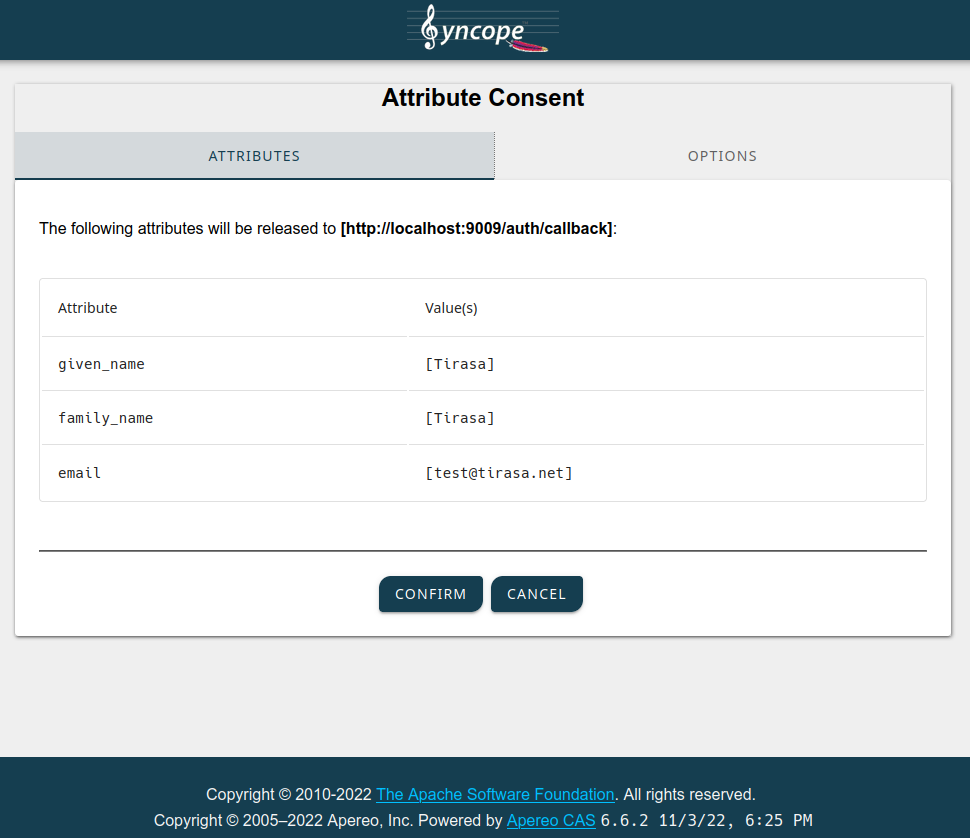
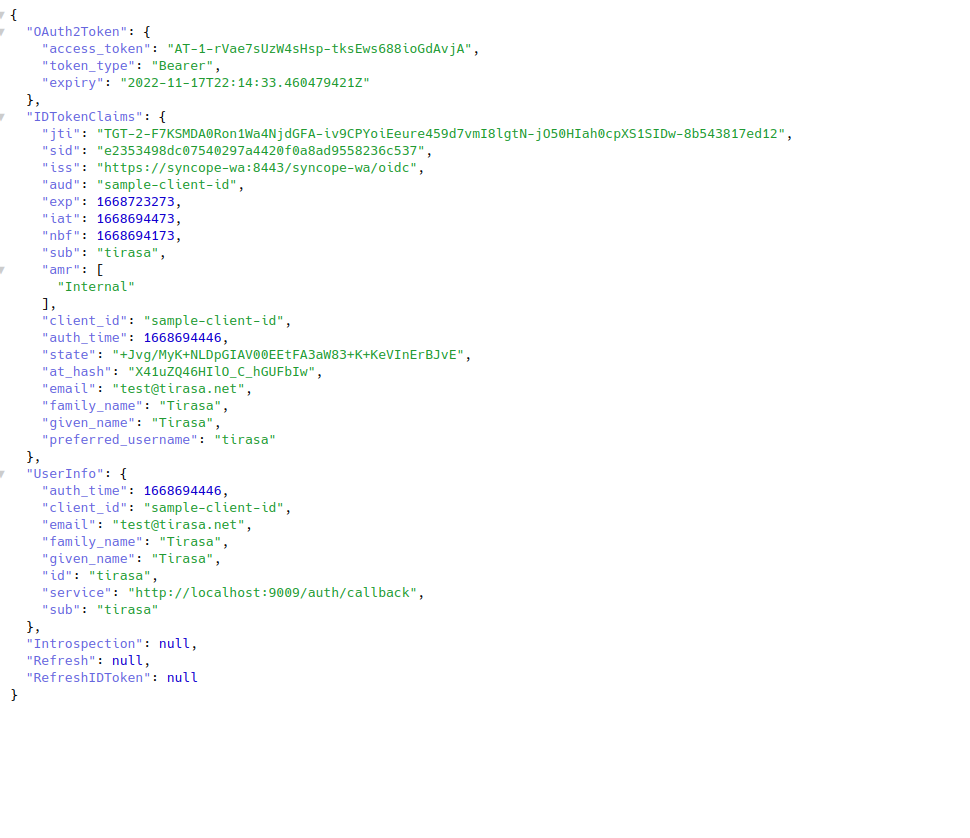
When you confirm, the browser will be redirected back to the native OpenID Connect application, which will in turn show some details about the JWT values received by Syncope WA:
Sign up a new user
In the steps above you did authenticate as a pre-exiting user, tirasa. What if you want to sign up as a new user?
Point your browser to http://localhost:38080/syncope-enduser/
You will be greeted by the Syncope Enduser welcome form: Enduser is the web application for self-registration, self-service and password reset.
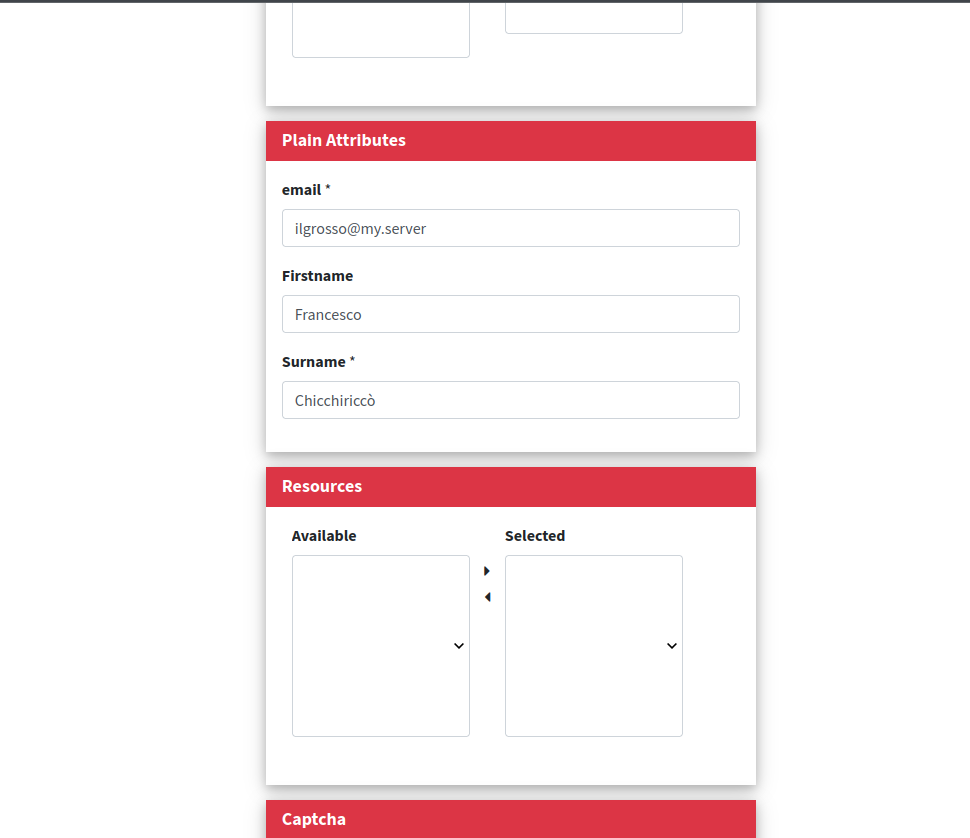
Click on the "Self Registration" link and you will be able to sign up a new user:
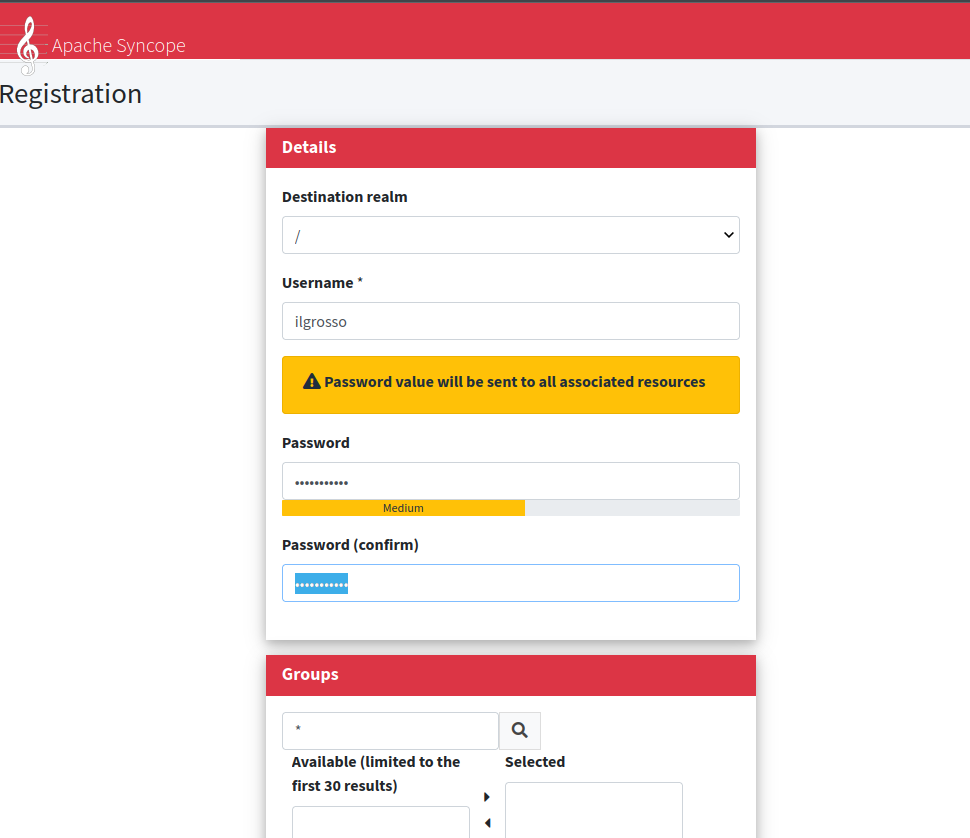
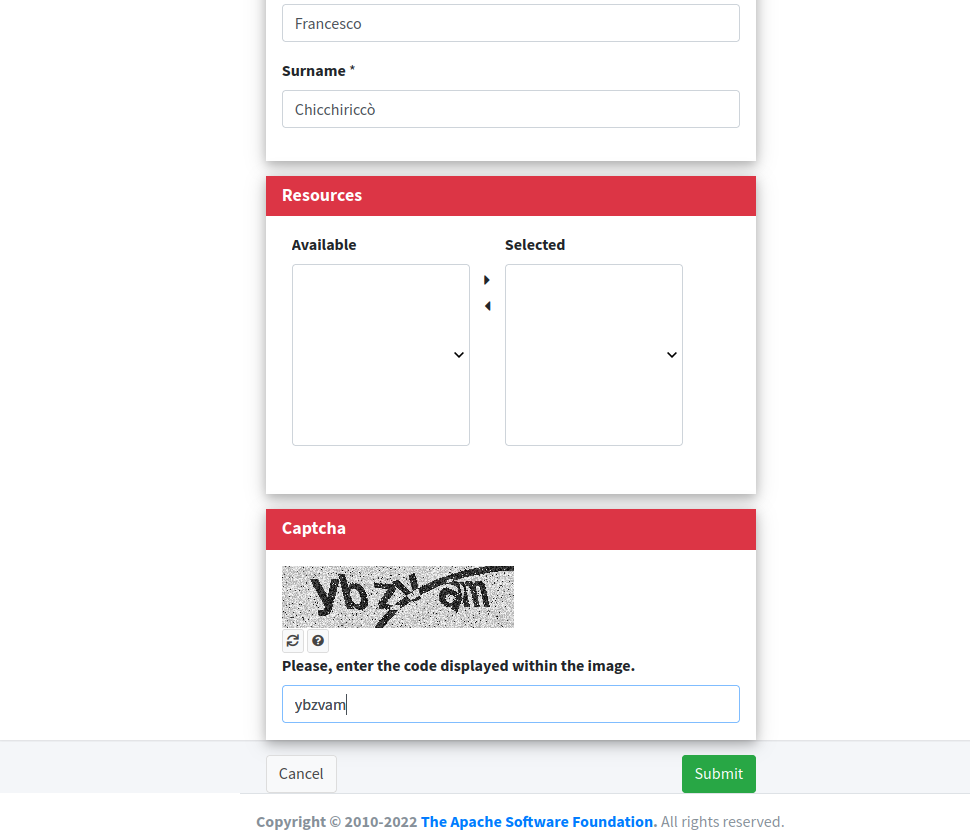
After hitting Submit, the new user is ready.
You can now attempt to log as this fresh user into the native OpenID Connect application at http://localhost:9009 but beware to clear up your cookies first, or no further authentication will be triggered.
A quick look under the hood
Yeah cool, but how can we administer all that? Let's sign up to the Admin Console.
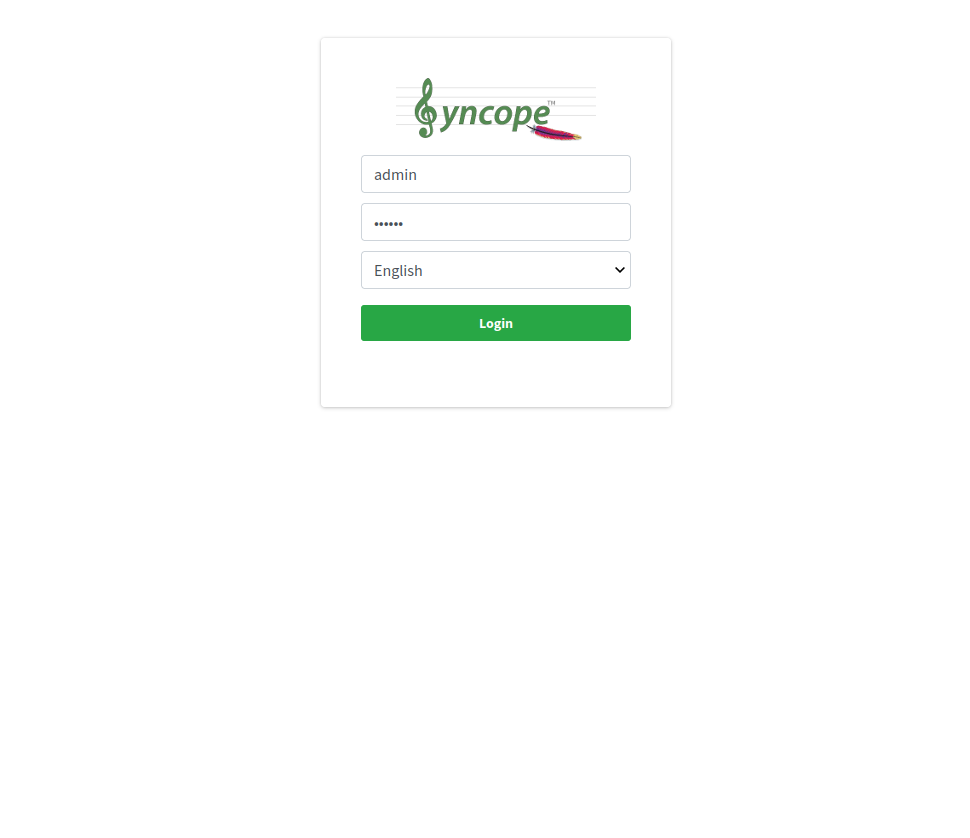
Point your browser to http://localhost:28080/syncope-console/
and insert the super-admin credentials, admin as username and secret as password.
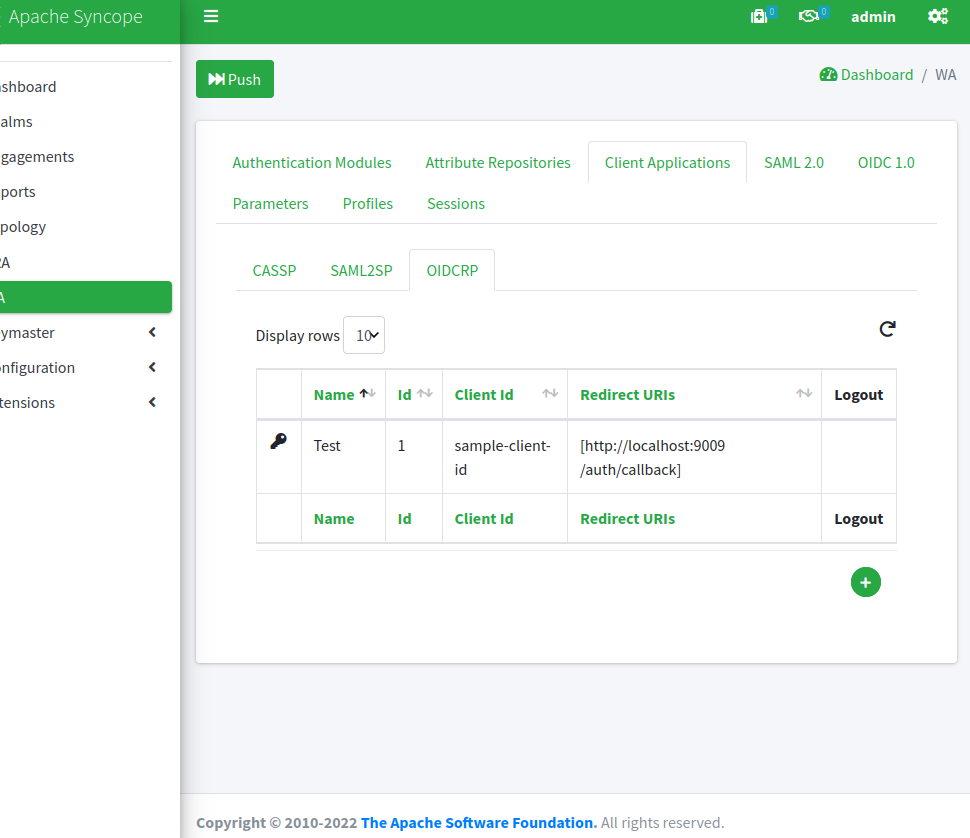
It is actually plenty of features there, but let's concentrate on WA, so let's click on WA from the left-side menu:
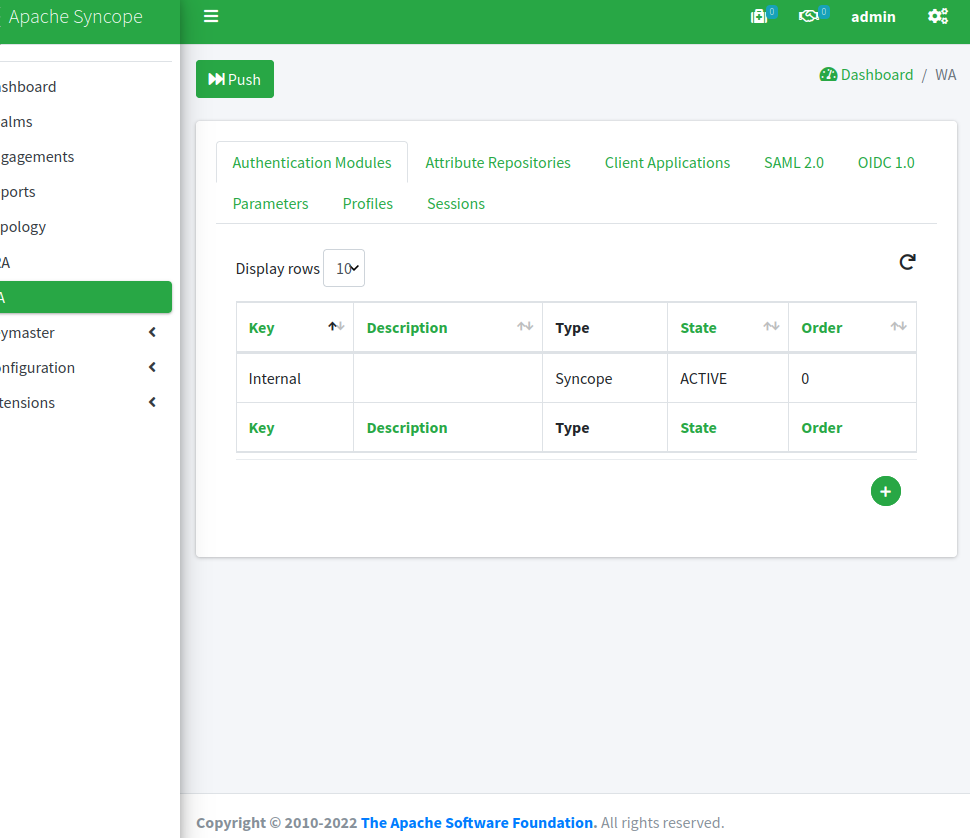
What do we have here?
Basically, this is the central place from which we can configure and control the attached WA instance. Once all needed is set, we can hit the big green button and push everything to WA, which will reconfigure itself dynamically, without need to restart.
From the screenshot above we can see, for example, that there is an Authentication Module named 'Internal' of type 'Syncope': this sets WA to check the login credentials against the users existing in Syncope; naturally, many other options are available.
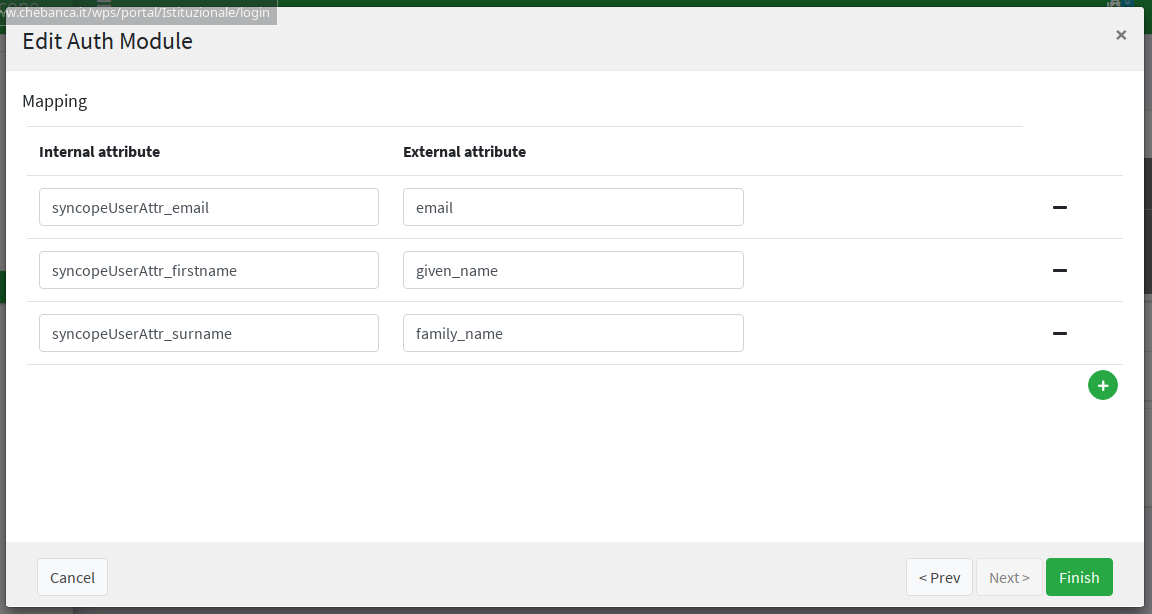
WA is taking some of the attributes returned by the 'Internal' Authentication Module upon successful authentication, and releasing them as JWT claims; we can see how the mapping section looks like, after clicking on the 'Internal' row, selecting 'edit' from the popup menu and following the wizard until the following screen appears:
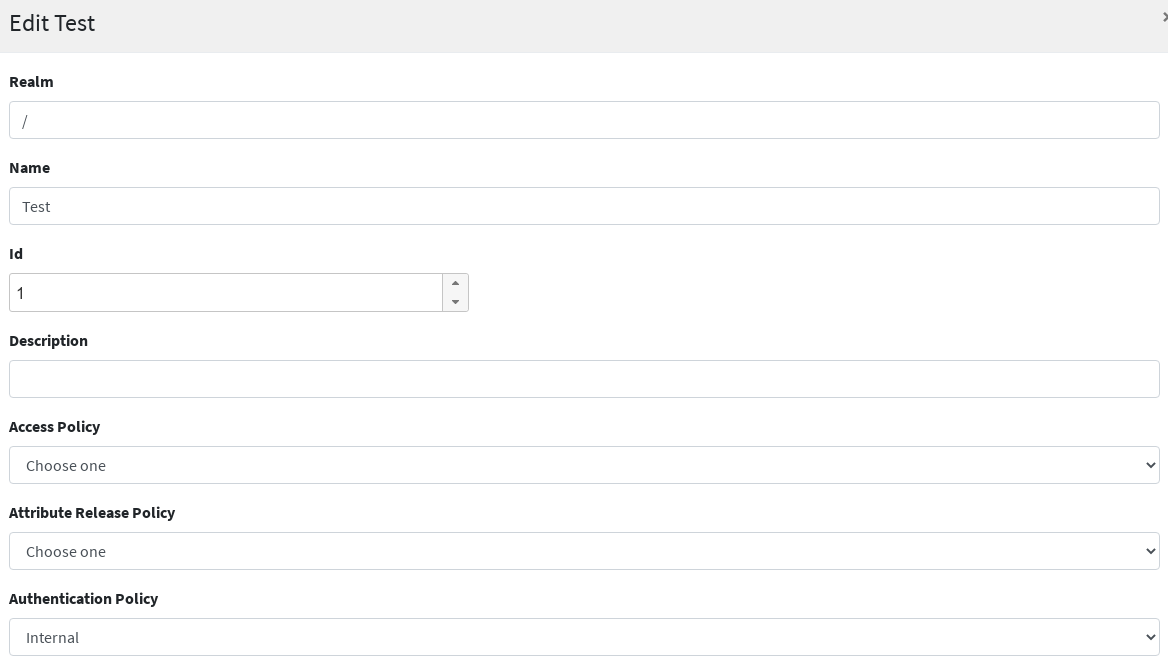
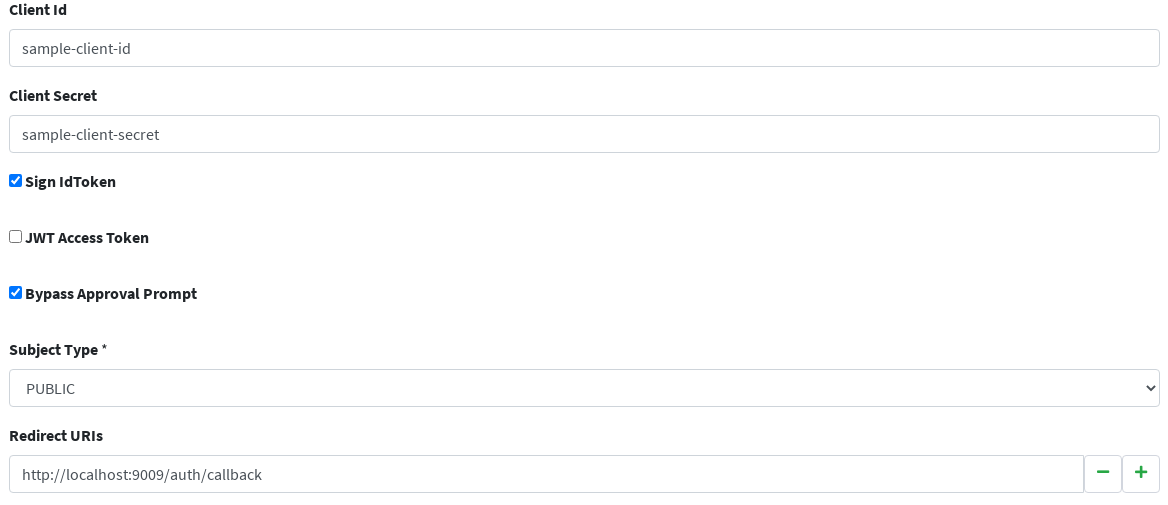
Another relevant configuration section is where we have defined our OpenID Connect client application:
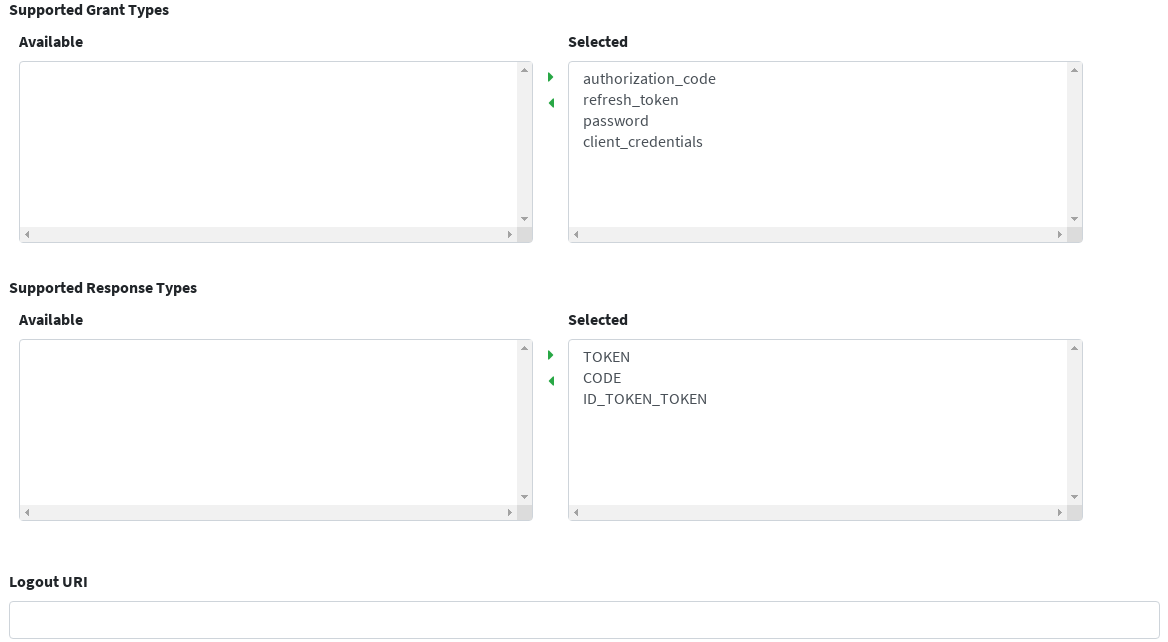
By clicking on the 'Test' row and selecting 'edit' from the popup menu, we can have a look at the options available to define an OpenID Connect client application:
Finally, we can also have a look at users existing in Syncope:
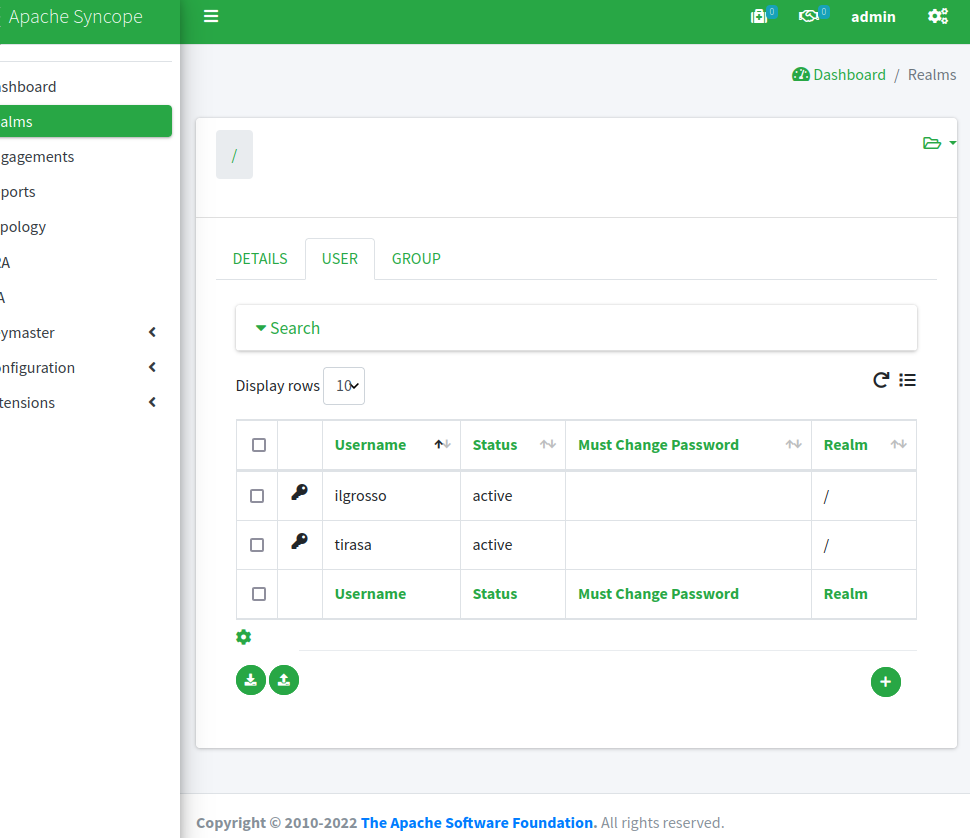
e.g. the one pre-defined by demo and the one signed up via Enduser.
How the demo works
- by visiting http://localhost:9009 the native OpenID Connect web application triggers its flow and redirects to the configured provider, WA
- WA checks that the request is coming from a configured client application and shows the login form
- after submit, WA checks the provided credentials against the existing internal users
- WA fetches the configured attributes from successful authentication and asks for confirmation to send back to requesting application
- the native OpenID Connect web application receives the response and queries for user profile, finally showing the resulting page
Wrapping up
We have shown how to quickly configure some Syncope components to implement the common use case scenario where access to a native OpenID Connect application needs to be protected, and the web application itself requires to access to the logged user profile.
In the next part we will show how to reach similar goals with a legacy, e.g. not able to deal with OpenID Connect protocol, web application.
Stay tuned!
 Yes, Excellent!
