


How to configure Apache Syncope to log in via SAML 2.0

Starting with Apache Syncope 2.0, it is now possible to configure the Admin Console and the Enduser UI to acr as a SAML 2.0 Service Provider.
In the following, a sample configuration will be shown, working with the popular, free SAML 2.0 Identity Provider TestShib.
Start a simple embedded Syncope project:
mvn archetype:generate \
  -DarchetypeGroupId=org.apache.syncope \
  -DarchetypeArtifactId=syncope-archetype \
  -DarchetypeRepository=http://repo1.maven.org/maven2 \
  -DarchetypeVersion=2.0.6
then build it with "all" profile in order to load SAML 2.0 extension:
cd [CREATED_PROJECT_FOLDER]
mvn -P all clean install && cd enduser && mvn -P embedded,all
Now, if you are going to run Syncope from your own laptop, consider that you will need anyway to provide TestShib with some unique identifier for your SAML metadata; hence, be sure to add [NEW_HOSTNAME] as alias for localhost in your hosts file.
At this point, point your favorite browser to "http://[NEW_HOSTNAME]:9080/syncope-console/"
Login to Syncope Admin Console using the default "admin" / "password" credentials.
Download the Syncope metadata file by going to Extensions → SAML 2.0 SP → Service Provider tab: 
Give the file a name (possibly, something reasonably unique identifying your environment) and upload it to TestShib.
Download the TestShib metadata file and upload it to Syncope (Extensions → SAML 2.0 SP → Identity Providers tab): 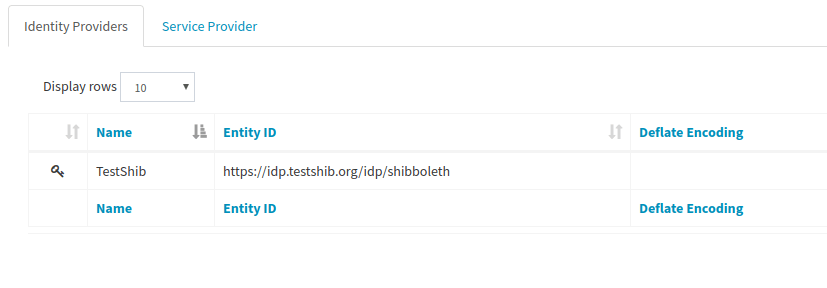
Click on the last uploaded file and select “Edit”.
Name it as you prefer (e.g. TestShib);
Flag Create unmatching users to automatically create SAML users not found in Syncope: 
Create a mapping like the following one, to make Syncope create users correctly: 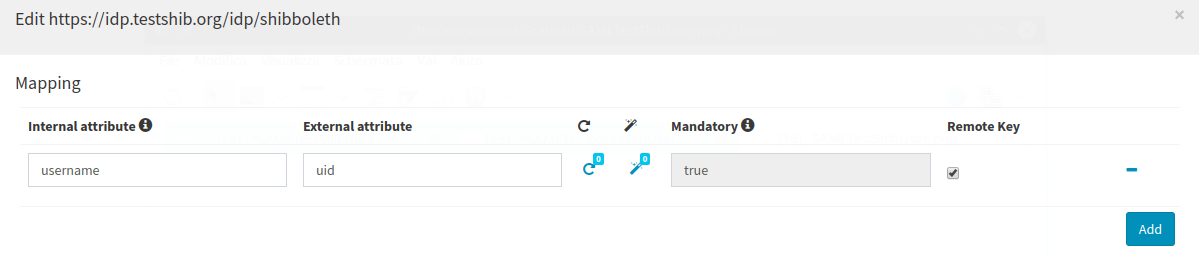
Side note: should you want to map more attributes, the following are provided by TestShib:
- uid
- eduPersonAffiliation
- eduPersonPrincipalName
- surname
- eduPersonScopedAffiliation
- givenName
- eduPersonEntitlement
- commonName
- transientId
- eduPersonTargetedID
- telephoneNumber
It's time to test, so logout from Admin Console and you’ll find a new dropdown field: 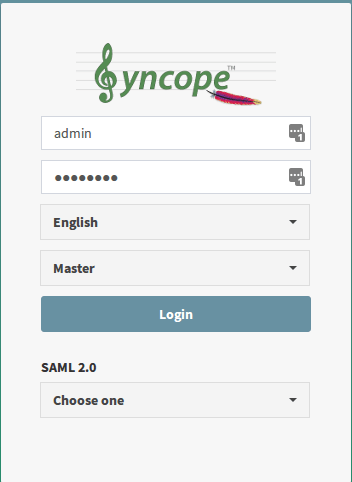
Choose "TestShib" (or the other name you have set) and you’ll be redirected to a page where you’ll be able to choose a TestShib user and use it to login to Syncope.
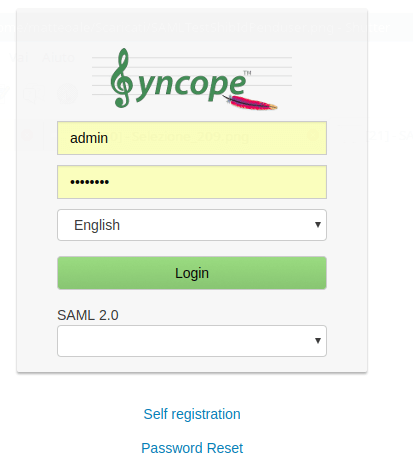
If you like, it is possible to repeat the steps above to enable access to the Enduser UI as well:
- obtain the Enduser metadata by visiting "http://[NEW_HOSTNAME]:9080/syncope-enduser/saml2sp/metadata", save it with a name reasonably unique identifying your environment;
- upload it to TestShib;
- login to Enduser UI by selecting "TestShib" (or the other name you have set) from the dropdown filed in the login screen.
 Yes, Excellent!
