


The following post illustrates how you can create a custom approval process on Apache Syncope and use it for approving role requests
The following post illustrates how you can create a custom approval process on Apache Syncope and use it for approving role requests.
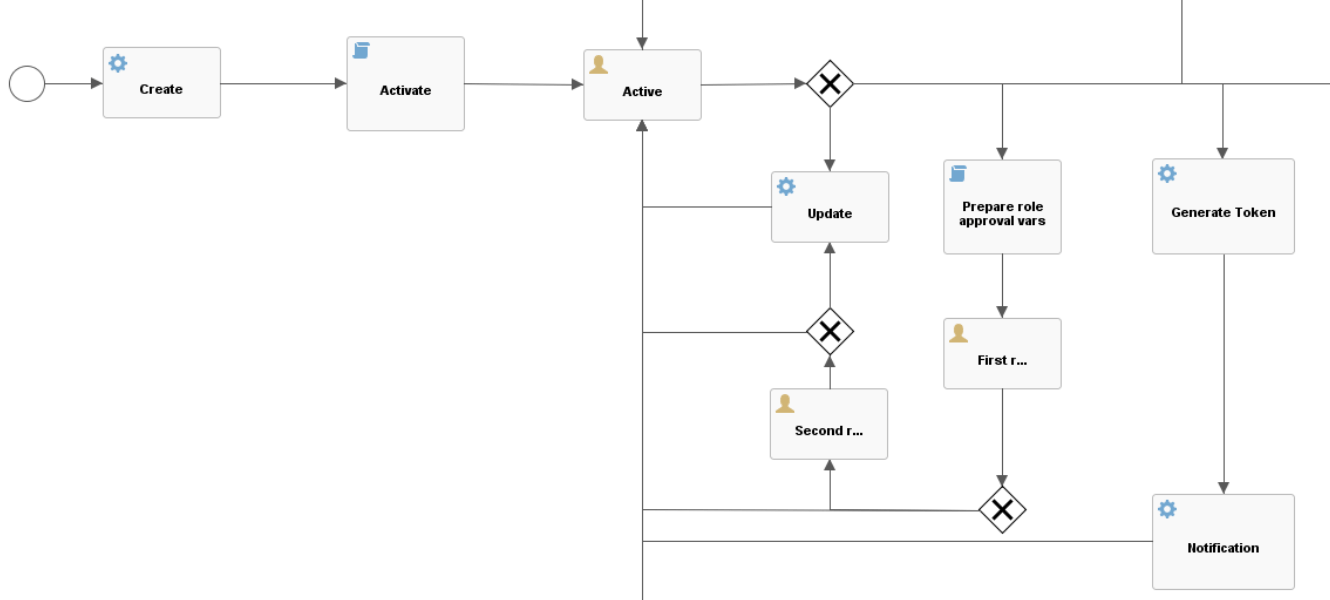
Scenario: When a user requires a role from the self administration form, Apache Syncope starts two approval steps.
Solution: To do this, we changed the workflow and added a java class to retrieve approvers. We can see that there are two approval phases in the workflow. If the user is approved in the first phase there will be the second. After the second phase, Apache Syncope assigns the role to the user.
    <scriptTasks type="text/javascript" id="prepareRoleApprovalVars" name="Prepare role approval vars" scriptFormat="groovy" activiti:autoStoreVariables="false">
        <script>
           roleMap = new HashMap();
           for (role in roleController.list(-1, -1, new ArrayList())) {
               roleMap.put(role.getId(), role);
           }

           def rolesToAdd = "";
           for (membership in userMod.getMembershipsToAdd()) {
               roleTO = roleMap.get(membership.getRole());
               rolesToAdd +=  roleTO.getName() + " (" + roleTO.getId() + ") ";
           }
           execution.setVariable("rolesToAdd", rolesToAdd);
      </script>
   <scriptTasks>
   <sequenceFlow id="sid-C6B9896D-977C-4968-8988-4114F02D4374"
                  sourceRef="prepareRoleApprovalVars"
                  targetRef="firstRoleApproval"/>
    <userTask id="firstRoleApproval" name="First role approval"
                  activiti:formKey="firstRoleApproval">
      <extensionElements>
        <activiti:taskListener event="create"
                  delegateExpression=
                  "${firstRoleApprovalFormCandidateListener}"/>
        <activiti:formProperty id="username" name="Username"
                  type="string" expression="${syncopeUser.username}"
                  writable="false"/>
        <activiti:formProperty id="requestedRoles" name="Requested roles"
                  type="string" expression="${rolesToAdd}" writable="false"/>
        <activiti:formProperty id="firstApprove" name="Approve?"
                  type="boolean" variable="firstApprove" required="true"/>
        <activiti:formProperty id="rejectReason" name="Reject Reason"
                  type="string" variable="rejectReason"/>
      </extensionElements>
    </userTask>
Activiti user tasks is used to model the approval process. It uses the activiti:taskListener to retrieve the approvers and formProperty to manage the approval form fields. The task listener uses a java class named FirstRoleApprovalFormCandidateListener that implement the logic to retrieve the approvers. In Apache Syncope, the roles are mapped one to one with the groups of Activiti.The inclusion of a class allows you to dynamically assign the possible candidates according to conditions (role request, value of an attribute, approval phase, etc. etc.).
For the first step the candidate are the user with id 1 and all users with Role(1) assigned.
Below the java class:
@Component
public class FirstRoleApprovalFormCandidateListener implements TaskListener {

@Override
@Transactional
public void notify(final DelegateTask delegateTask) {

  // retrieve field from the workflow
  UserMod userMod =
      delegateTask.getExecution().getVariable(
          ActivitiUserWorkflowAdapter.USER_MOD, UserMod.class);

    if (!userMod.getMembershipsToAdd().isEmpty()) {

      //User with Id 1
      delegateTask.addCandidateUser("1");

      //Users with Role Id 1 assigned
      delegateTask.addCandidateGroup("1");
    }
}
Add in the workflowContext.xml this line:
<context:component-scan base-package="package.your.java.class"/>
Now, you are able to add the second approval step.
Let's see how it works...
Prerequisite:
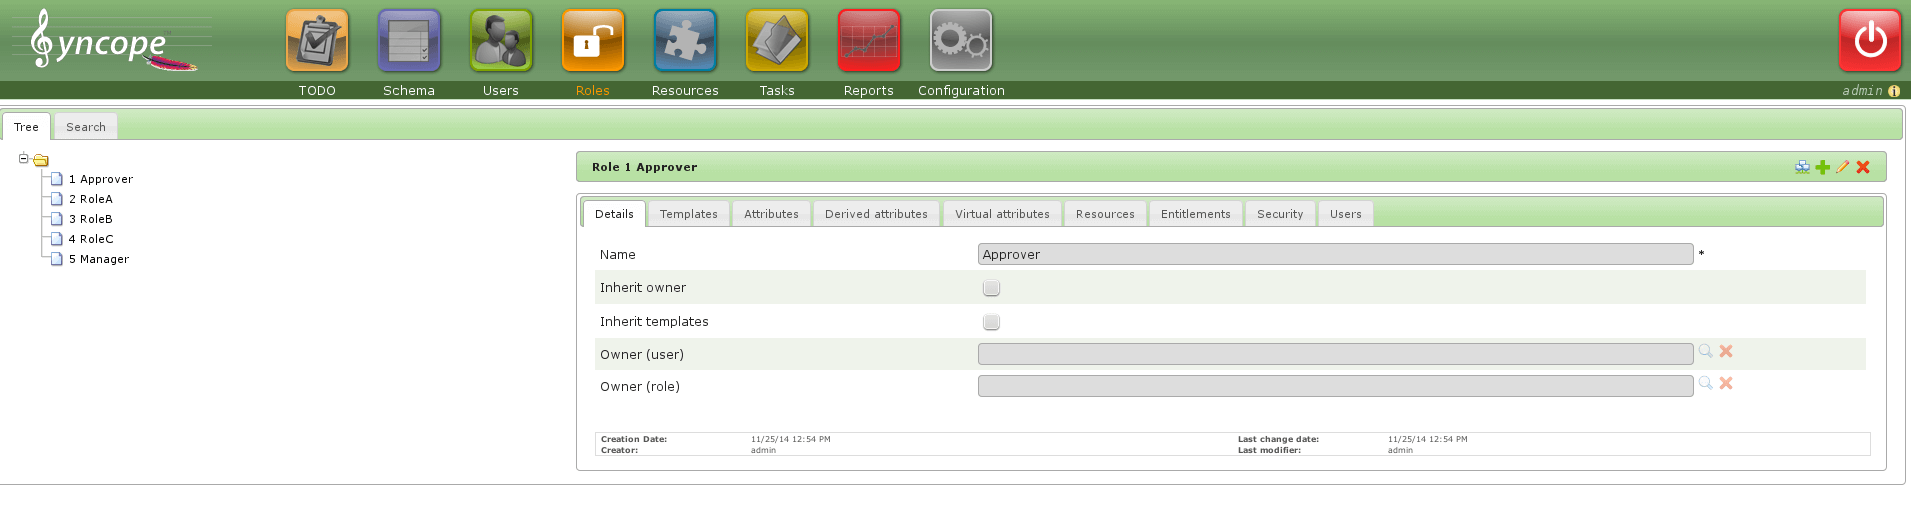
- Create two roles named Approver and Manager and assign the entitlements (WORKFLOW_FORM_LIST, WORKFLOW_FORM_SUBMIT, WORKFLOW_FORM_CLAIM, WORKFLOW_FORM_READ, ROLE_ID_to approve).
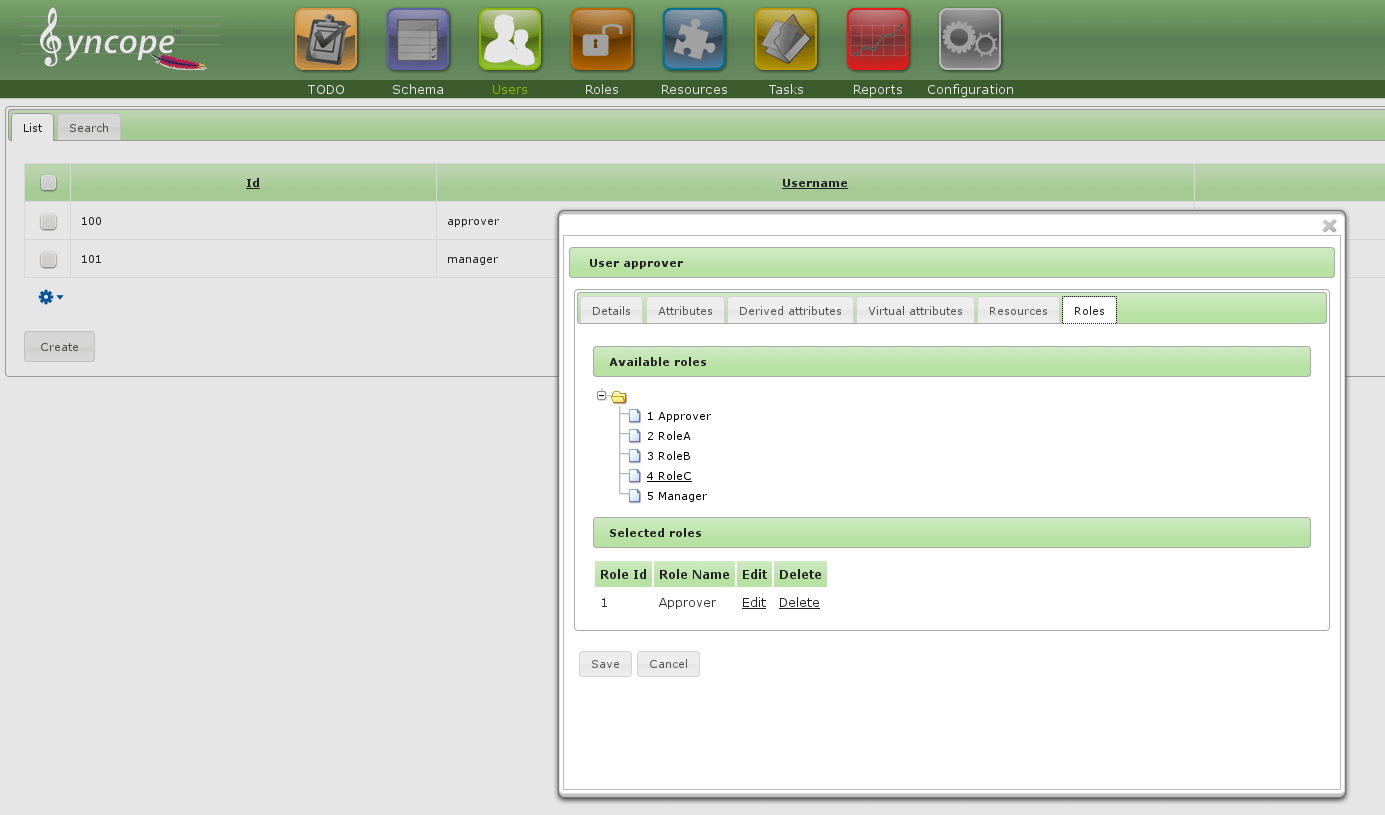
- Create a user approver and assign the role Approver (first approval step)
- Create a user manager and assign the role Manager (second approval step)
- Login with an user and make a request for a new role.
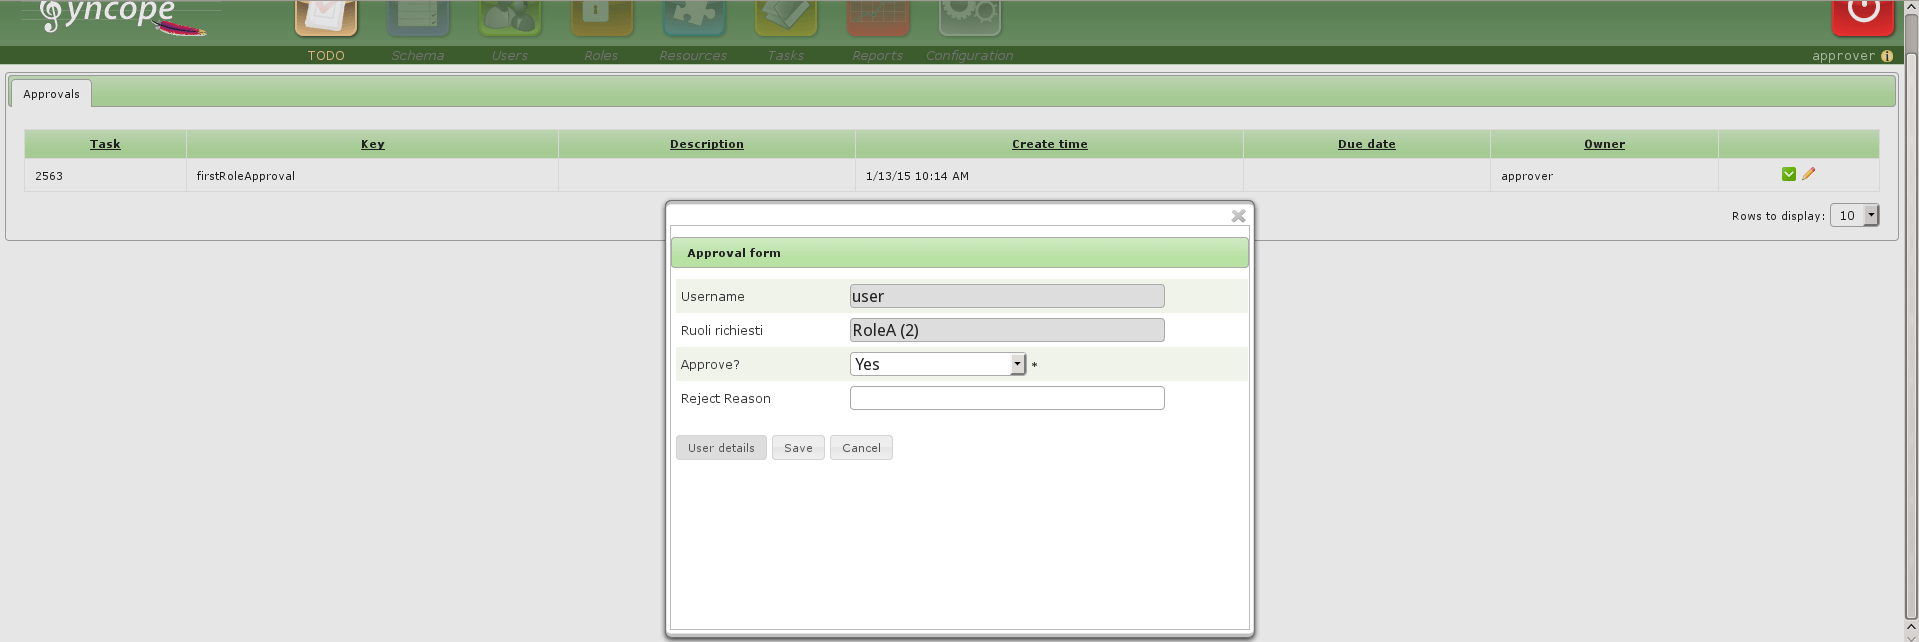
- Login with user named approver and go to TODO tab (firstRoleApproval step).

- Claim and approve the request.
- Login with user named manager and go to TODO tab (secondRoleApproval step).
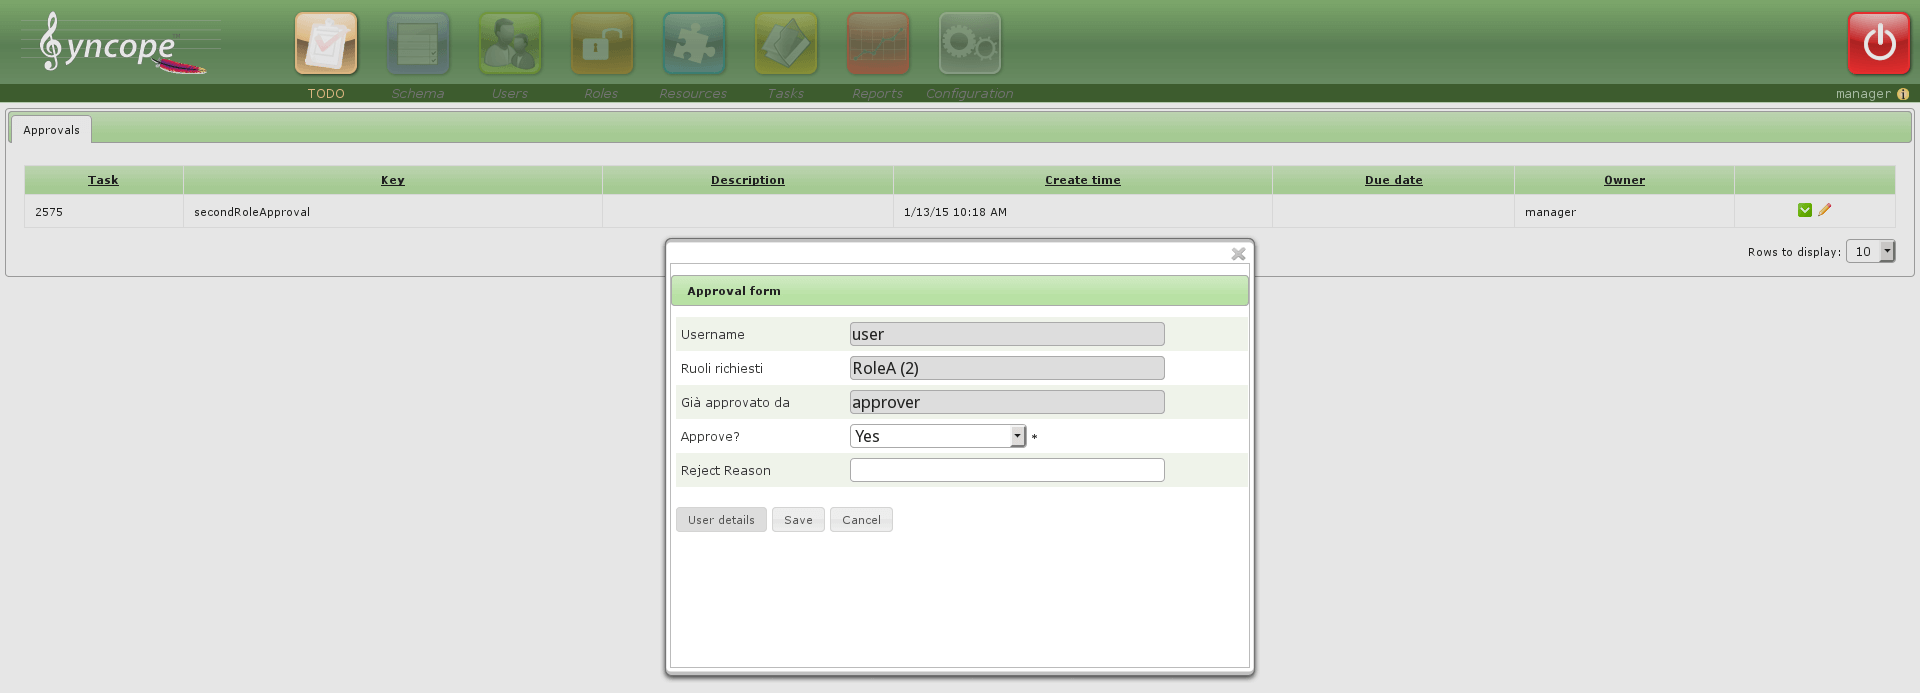
- Claim and approve the request.
- Login with the user and check if the role is assigned.
Enjoy!!!
 Good
Good
