


Now that web applications are protected by Syncope 3.0, it's time to get back in control about which users can access.
Let's recap the plan of the current post series:
- (first post) how to configure Syncope to protect a native OpenID Connect web application
- (second post) how to configure Syncope to protect a legacy web application
- (this post) how to manage which users are allowed to access which web application(s)
Each post provides a fully working demo based on Docker Compose, so if you like to follow, please stay prepared and get it ready on your laptop.
Getting and running the demo
First of all, you will need to grab the demo files. Secondly, you will have to add the following entry to your hosts file (depending on actual OS):
172.20.0.6 syncope-wa
Once all is set up, just cd into part3 and start via
docker compose up
Now it is time to relax and just let the magic happen: Docker will download the required images (database, Syncope components, native OpenID Connect and legacy web applications) and set everything up. When you start seeing log lines as follows:
org.apache.syncope.wa.starter.services.WAServiceRegistry : Loading application definitions
then it is time to back up and start giving the demo a try.
Exploring the demo
At a first glance, nothing seems to have changed: the pre-existing user tirasa is still able to log into our native (as from first post) and legacy (as from second post) OIDC applications.
Things start changing after signing up a new user from Enduser application available at http://localhost:38080/syncope-enduser/ (you can check the first post about the detailed steps): when attempting to log in as the newly created user, in fact, an error message is reported.
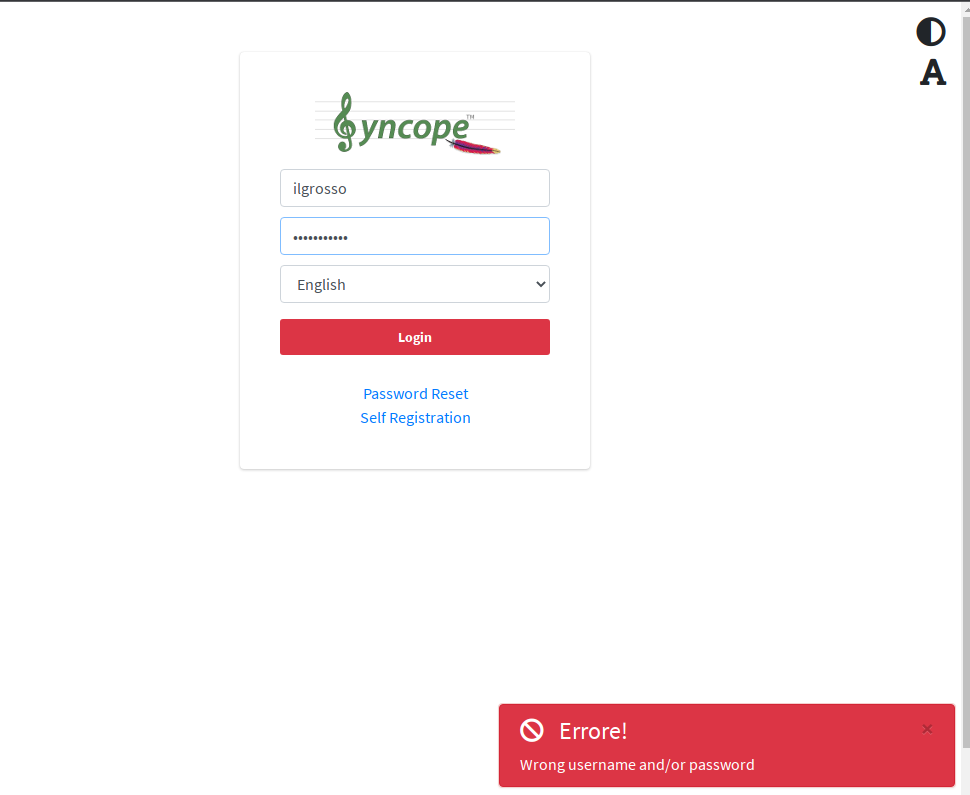
What did happen?
Syncope is now equipped with a slightly different user workflow definition, which requires approvals for user self-initiated operations, as registration.
When logging into the Console application at http://localhost:28080/syncope-console/ (you can check again the first post about the detailed steps) one of top-bar widgets is displaying a non-zero badge count:
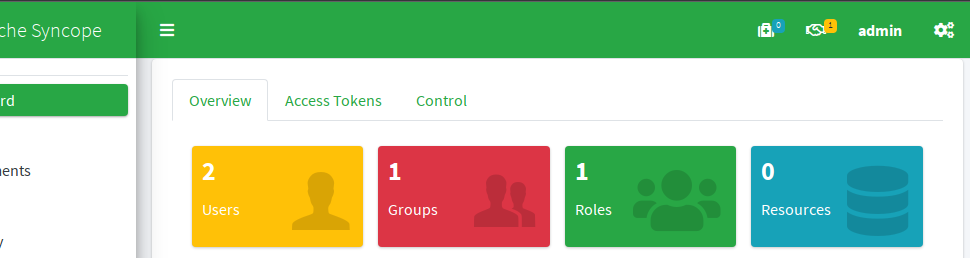
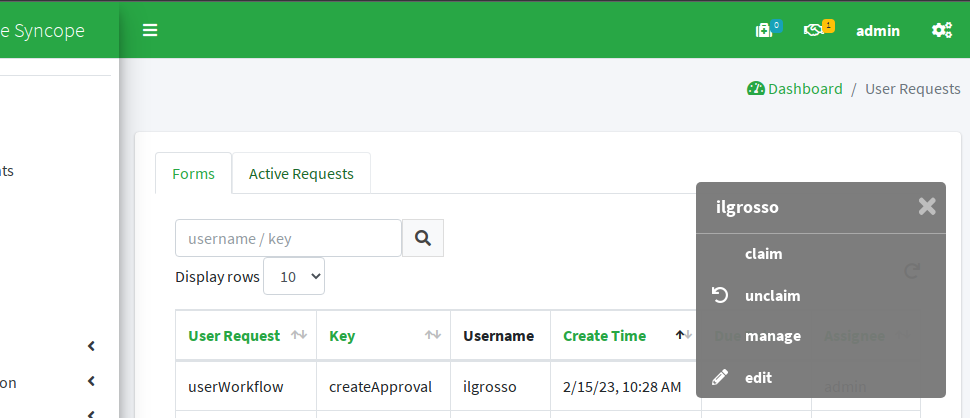
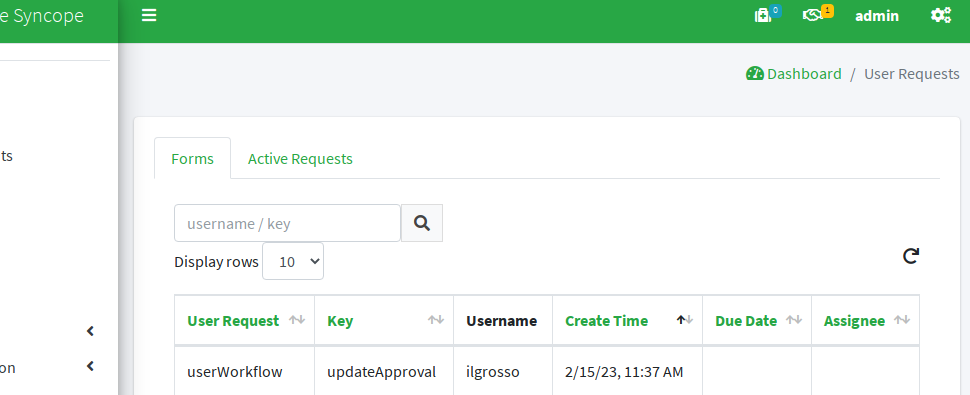
From there we can navigate to the list of pending approvals:
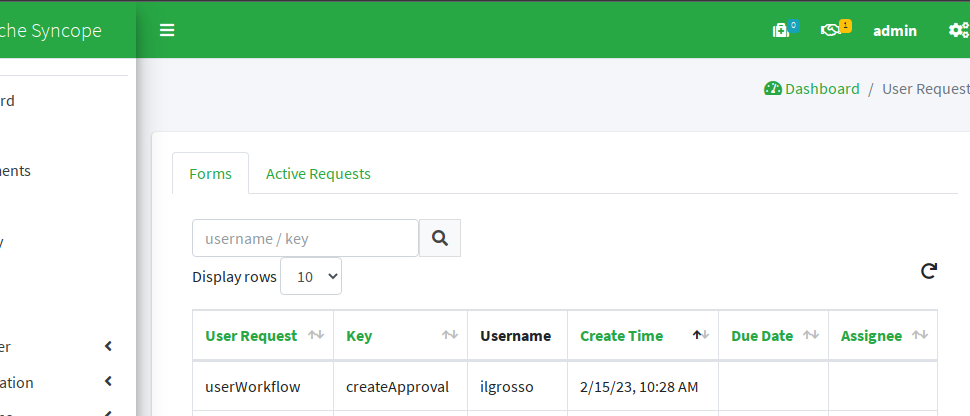
The user ilgrosso is currently in state createApproval (this is why logging in is not allowed and generates failure as reported above).
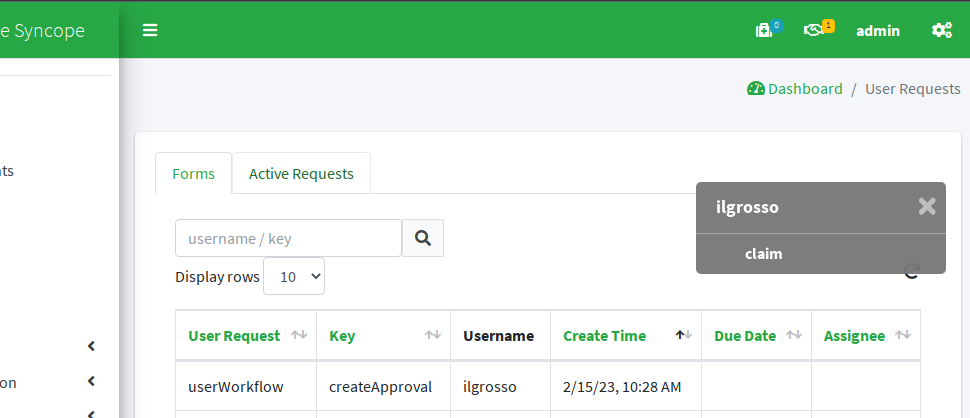
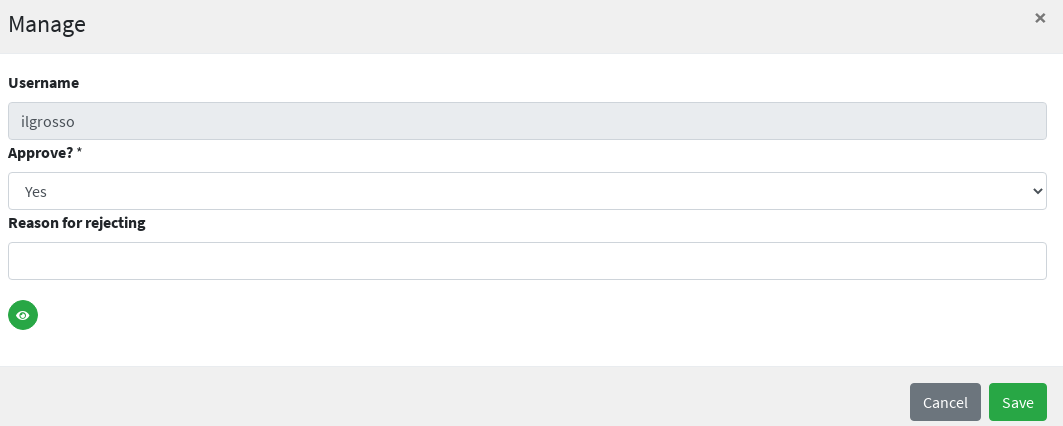
The request can be claimed, managed and approved to move on.
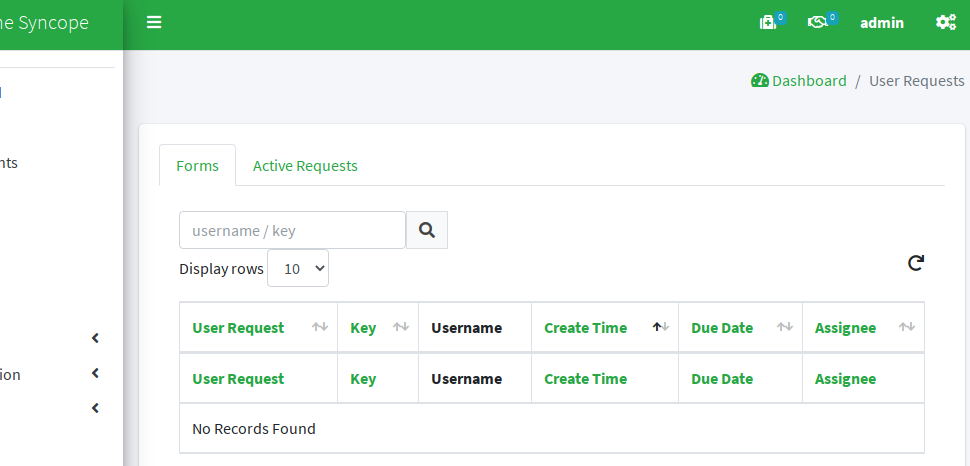
After approval, no more pending requests to manage.
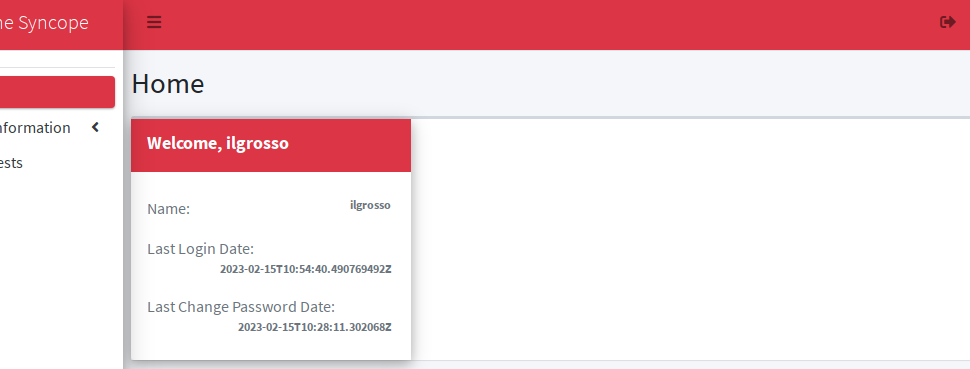
Moreover, now logging into the Enduser application as ilgrosso works as expected:
So far, so good: it is time to access our native OpenID Connect application at http://localhost:9009
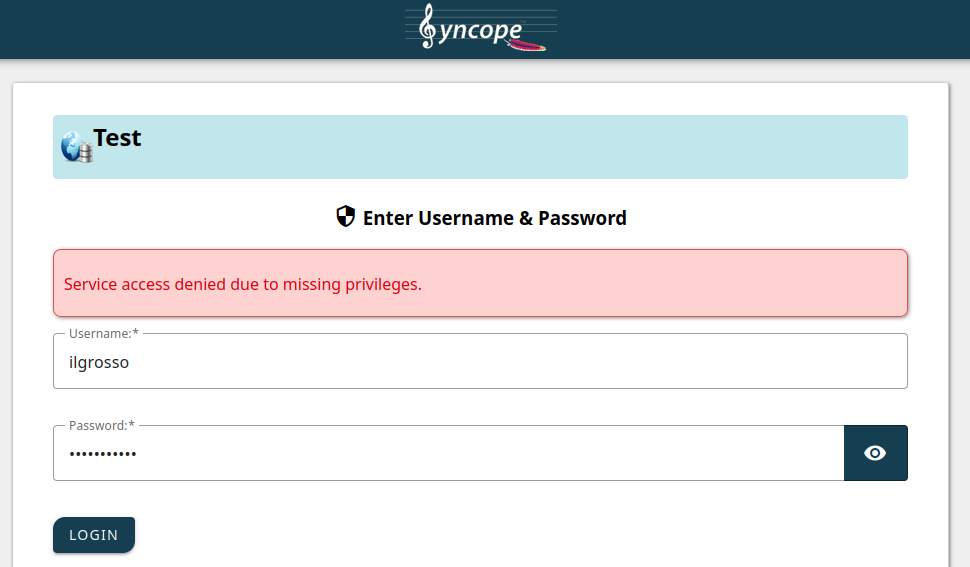
This time things are not working as in the first post: we are getting an error about "service access denied".
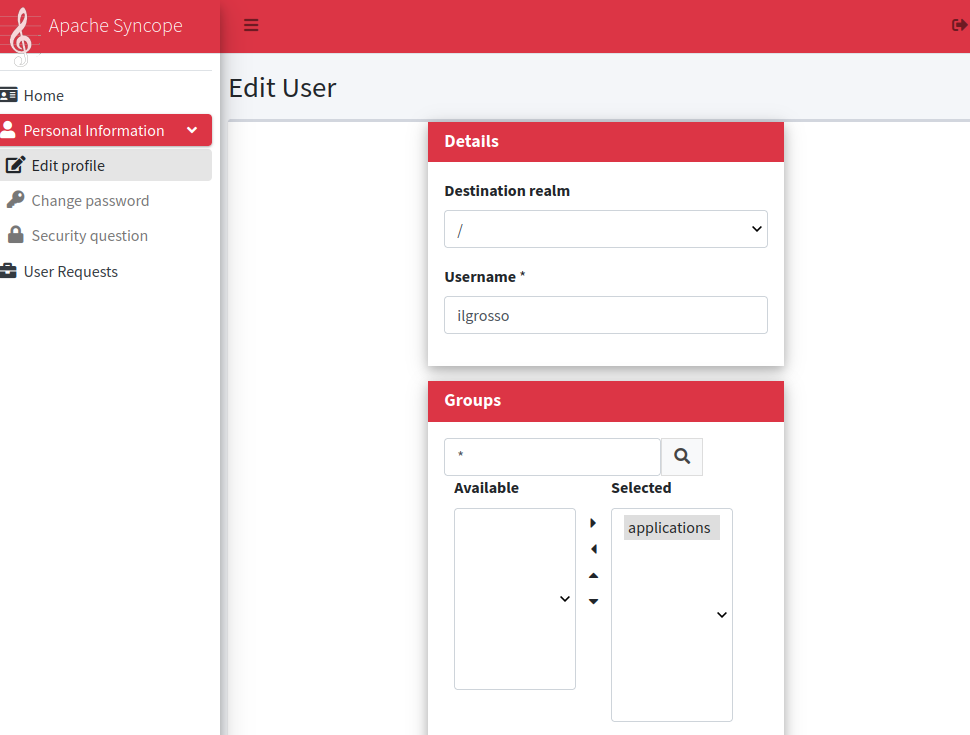
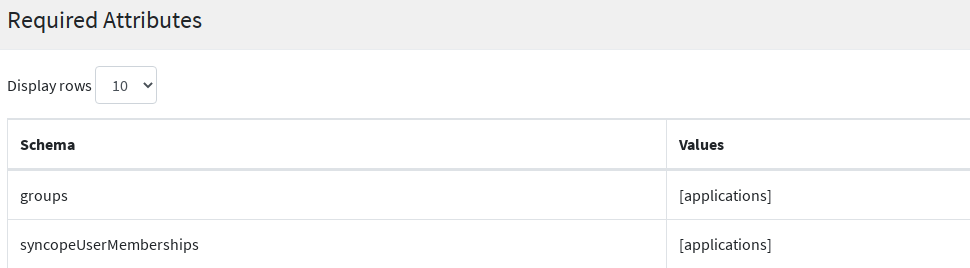
Why? The WA configuration is now requiring users to be part of the applications group, so let's ask for it via Enduser application:
After passing through CAPTCHA (which can be optionally disabled or replaced with alterntives, in case) and hitting the Change button, we will receive a confirmation that our request was successful.
From Console we can see there is a new pending request for approval related to user ilgrosso.
After following the same process as described above, the user is finally allowed to access our native OpenID Connect application.
A quick look under the hood
The behavior described above is based on essentially two new items, if compared with previous posts.
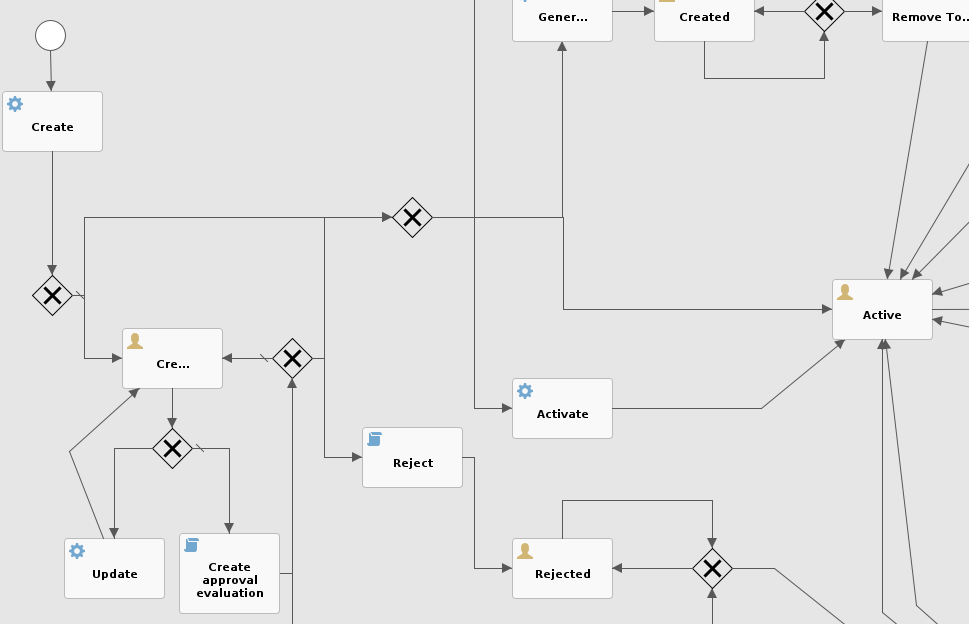
First is the custom workflow definition, which requires approvals for user self-initiated operations, as registration and update.
The demo features the Flowable extension, which includes support for Console and Enduser.
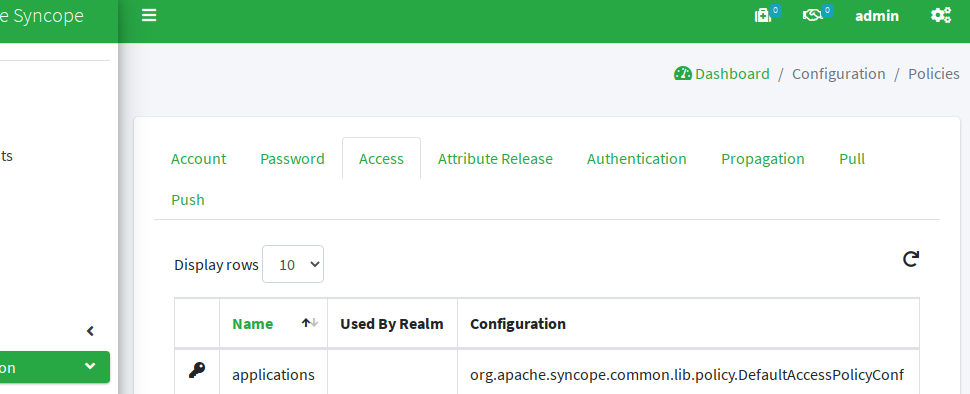
Second and fundamental addition is the definition of an Access Policy requiring membership for group applications, as mentioned above.
Wrapping up
We have shown how to add some Identity Management spicy on top of the Access Management demo built by previous posts.
This was just to illustrate how to achieve some common business goals by combining the integrated features provided by Apache Syncope 3.0.
Next steps? Go get your hands dirty with Syncope or ask for our support.
 Yes, Excellent!
